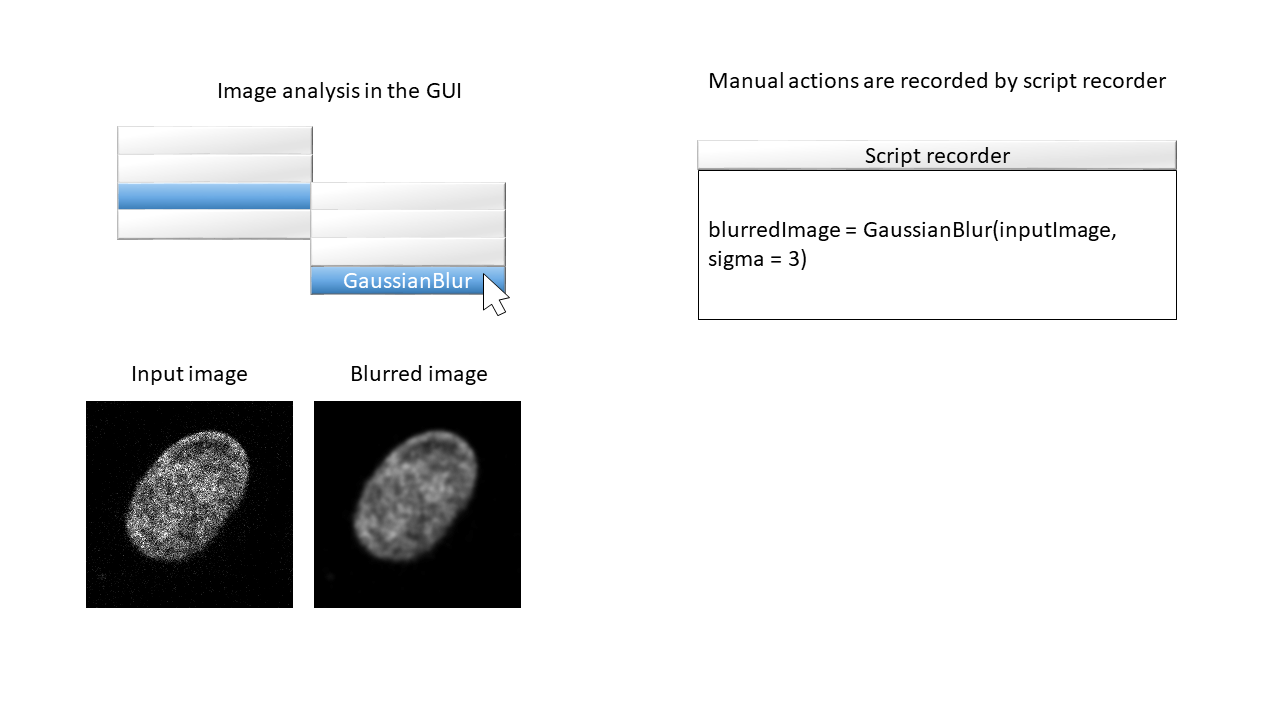
Recording a script
Prerequisites
Before starting this lesson, you should be familiar with:
Learning Objectives
After completing this lesson, learners should be able to:
Record graphical user interface (GUI) actions into a script
Motivation
Writing an image analysis script from scratch is difficult because you need to remember all the commands needed to execute all the required actions. However, luckily some software packages have an option to record what you do in the graphical user interface into a script. This is very powerful and good to know!
Concept map
graph TD
G("Graphical user interface") --> A("Image analysis action")
G -->|generates| E("Executable code (text)")
E -->|executes| A
Figure

Activities
- In FIJI, enable the script recorder.
- Open the image xy_8bit__small_noisy_nuclei.tif.
- Duplicate the image
- Perform a gaussian blur operation on the duplicated image
- Inspect (and clean up) the recorded script
- Run the script
Show activity for:
ImageJ
- In FIJI, enable the script recorder: [ Plugins › Macros › Record…]
- Open the image xy_8bit__small_noisy_nuclei.tif.
- Duplicate the image: [ Image › Duplicate…]
- Perform a gaussian blur operation with sigma = 7 on the duplicated image: [ Process › Filters › Gaussian Blur…]
- Duplicate the non-blurred image once more: [ Image › Duplicate…]
- Perform a gaussian blur operation with sigma = 2 on the second duplicated image: [ Process › Filters › Gaussian Blur…]
- Inspect (and clean up) the recorded script
- Recorded script should look like this:
open("https://github.com/NEUBIAS/training-resources/raw/master/image_data/xy_8bit__small_noisy_nuclei.tif");
selectWindow("xy_8bit__small_noisy_nuclei.tif");
run("Duplicate...", " ");
run("Gaussian Blur...", "sigma=7");
selectWindow("xy_8bit__small_noisy_nuclei.tif");
run("Duplicate...", " ");
run("Gaussian Blur...", "sigma=2");
- Run the script
- What happens if you remove the second selectWindow command?
Exercises
Show exercise/solution for:ImageJ
Record a script to produce a maximum, median and sum projection of this image: xyz_8bit__nucleus.tif.
Solution
- [Plugins › Macros › Record…] (Select ‘macro’ in the first dropdown menu of the Recorder)
- Open the image xyz_8bit__nucleus.tif either via [File > Open…] if you have it saved locally, or through dragging and dropping of the link into the FIJI window.
- Select the original image and go to [Image › Stacks › Z Project…] and choose maximum intensity projection.
- Select the original image and go to [Image › Stacks › Z Project…] and choose median projection.
- Select the original image and go to [Image › Stacks › Z Project…] and choose sum slices.
- Output recorded script should look like this:
open("https://github.com/NEUBIAS/training-resources/raw/master/image_data/xyz_8bit__nucleus.tif");
selectWindow("xyz_8bit__nucleus.tif");
run("Z Project...", "projection=[Max Intensity]");
selectWindow("xyz_8bit__nucleus.tif");
run("Z Project...", "projection=Median");
selectWindow("xyz_8bit__nucleus.tif");
run("Z Project...", "projection=[Sum Slices]");
Assessment
Q&A
- How could one publish an image analysis workflow that you did in a software that only has a graphical user interface?
- How could one share an image analysis script with a colleague?
Solution
- One could record a screencast.
- One could send the script by e-mail.
Follow-up material
Recommended follow-up modules:
Learn more: